 |
| Gathering my materials |
 |
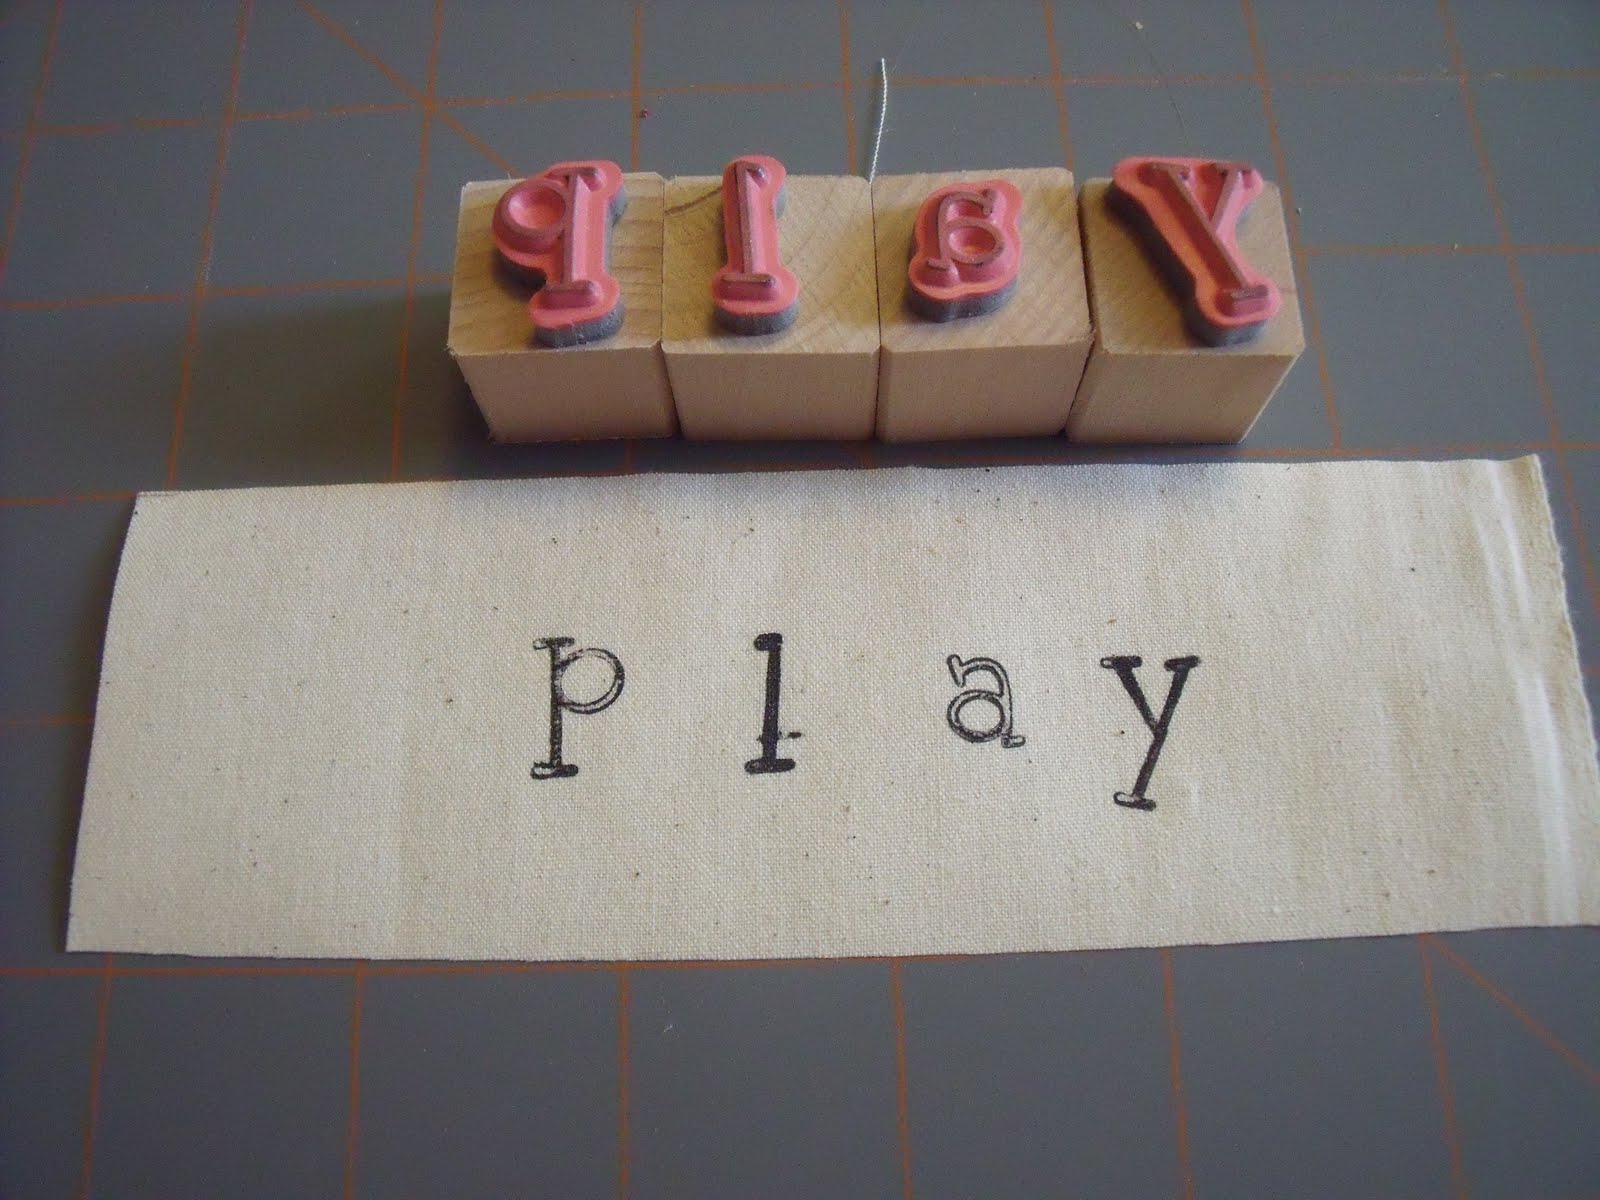
| After cutting several strips of muslin 2"x5", I used the stamps to measure out the space. |
 |
| To prevent the stamp from getting all goopy with fabric paint, instead of painting the paint directly onto the stamp I decided to use a small paint brush to brush on a small layer of fabric paint onto a plastic lid. |
 |
| This allowed a reasonable amount of paint to sit on the stamp. |
 |
| You can see how clearly the letters came out |
 |
| I couldn't resist making a few more. I had a feeling I was going to love this little project & want to make more than just one bag. |
 |
I just love burlap, don't you? I couldn't resist making my first little bag out of it. Somewhere I had read about a great way to help cut a straight line out of burlap (If I find the link I will post it). You find one string of the burlap & pull it out. This will leave a straight line to cut along. I'll admit, it was a little more of a project than I expected (it doesn't just pull right out), but look at the amazing results! A very straight line indeed! |
 |
| A straight line is created by pulling a thread from the burlap. |
 |
| I sewed the "read" stamped fabric to a piece of 7"x7" scrap fabric. |
 |
Then I sewed this piece to the burlap, folded it - right sides together, & sewed the sides of the burlap.
 |
After turning it right side out again, I added bias tape to the top with a zig-zag stitch.
A couple things here, (1) I have never used bias tape, (2) tricky, hmmm..., (3) I didn't measure correctly so I ended up with a inch on the back of the bag with no bias tape, (4) next time I cut the bias tape only after I was finished adding it :) Much better results! |
|
 |
| I used ribbon for the handle. You can see how amateur my zig-zag is - there is no denying that this is a handmade product! |
 |
Voila! I love it, my kids love it, and we are all so proud of mama! I love that they got to see their mom through the whole process of setting a goal, getting an idea, learning, & creating a finished product/project!
{f.y.i. - Nearly everyday since I finished this they've been talking about their own "projects", what they are creating next, and the types of materials they need. Love it!} |
 |
| Onto the next bag! I am making 2 bags out of window screening (Amanda Blake Soule's idea). |
 |
| Stitching on the stamped muslin piece |
 |
| Checking the placement of the fabric square prior to stitching it all up |
 |
| Stitching the fabric to the front of the screen |
Here are the finished products!
On the left we have a bag that will be used to carry our books back & forth to the library.
On the right we have gift bags.
The "create" bag was filled with artsy-craftsy supplies.
The "play" bag was filled with trucks for the sand box. My hope is that the screen will allow for sand to easily shake out.


