title description

A place for busy people to find inspiration, nurture their creative spirit, & CREATE the life they want to live. Make a date to CREATE today!

Labels

art (1) Balance (4) chalkboard paint (2) dessert (1) dinner (1) DIY (9) fabric (1) family (2) food (3) garden (1) gift (2) Gratitude (4) Green (1) Green Being (2) jewelry (1) kids (6) make-believe (1) nature (1) organize (3) party (1) positive (1) running (7) sewing (6) window pane (1) wood (2)
Showing posts with label sewing. Show all posts

8.26.2011

Festive Bunting

CREATE a festive bunting!

I love all the cute buntings I see everyone making online!
So I figured it was time for me to make one &, with a little adjusting, I am very happy with the results!

Using fabrics I purchased at Goodwill (see the post here),  I created my template & cut my first piece of fabric.
Then I cut out a set with the same fabric.
Using that first piece I measured & cut all the other pieces of fabric.
This Hawaiian shirt made for some fun fabric!
Here, I laid them out & played with patterns.  I wanted to sew them back to back.
Well, let's just say that I am not a master sewer (yet!).
I think the variety of fabrics & very old machine didn't quite work.
I broke the machine :)
So... PLAN B
I laid them out & clipped them onto a clothes line with clothes pins.
Thank goodness I came up with this pretty quick because it was for a gathering THAT afternoon!
Here are some pics of the final results!


Happy bunting!

8.03.2011

Fabric from the Goodwill

Check out the fabrics I picked up from the Goodwill.
What a fabulous & affordable way to reduce, reuse, recycle!
Planning on making a bunting for an upcoming gathering! (My first 1!)
Fun, fun, fun!


8.02.2011

Future Designer in Training

So, I have a son who, since the time he was born, has been interested in dolls & dresses.
He's constantly taking any available blanket in the house & designing it into a dress.
We, of course, embrace his passion for design &, rather than deter him from an art that may be considered "girly", we've decided to help him explore this further.
(Heck, he could end up becoming a successful designer some day & be able to hook me up with much more hip clothes than I'm currently wearing! Ha!)
Since I was learning how to use my sewing machine, I decided I'd bring him along for the ride & try to teach him some basics (keeping in mind that I'm not sure I really know what I'm doing).
1st we traced a dress we already had, creating a pattern. This, of course, lead to discussions of measurement (bonus).
Next, the pattern was cut out...
... & we compared the pattern to the doll. 
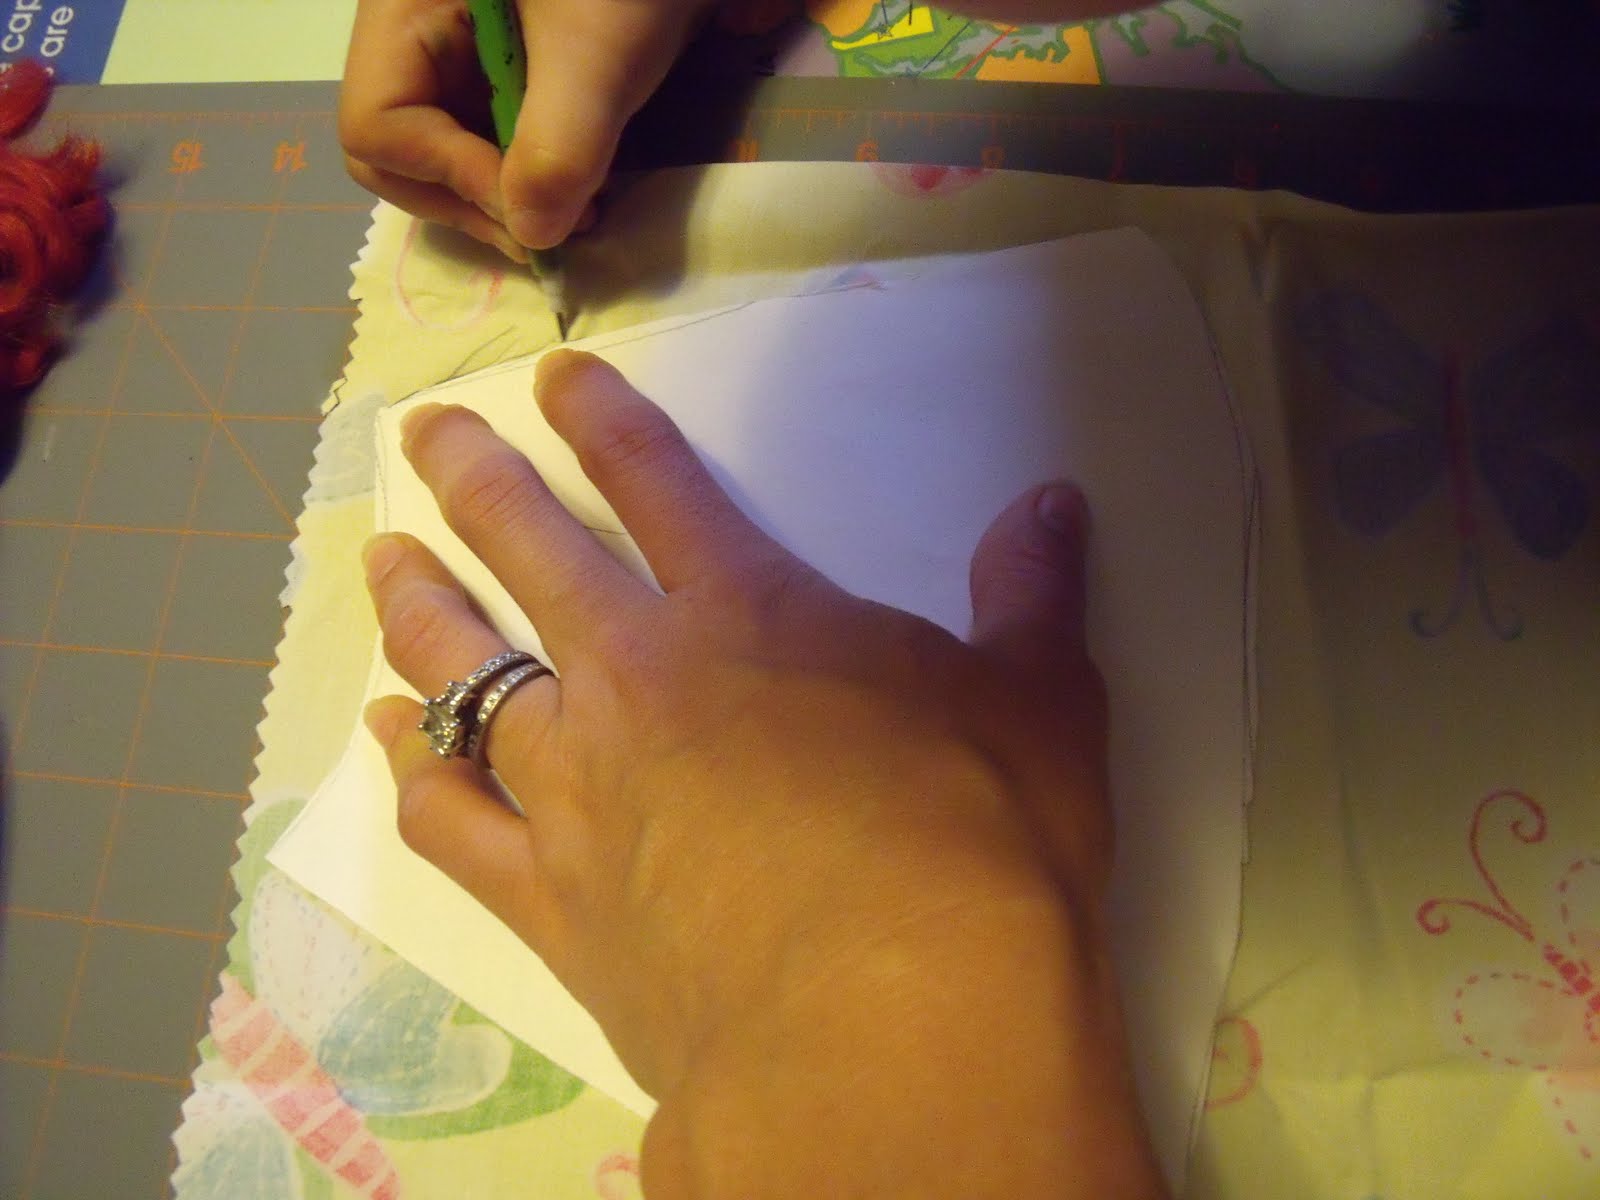
I held the fabric while he traced the pattern onto the fabric.

I pinned the fabric along the lines he traced & then he cut along the lines.
Fabulous cutting!
He was so excited to be in charge of the pedal while I fed the fabric through the machine.
We tested out the sewn fabric on the doll to see if we needed to do any trimming & decided that adding some Velcro was essential (Although I am not a serious sewer, I am a full-time teacher.   So of course I had some Velcro on hand!)
We thought a zig-zag stitch would make it more fancy.
Here we are wrapping her up & checking our handy work.
Here, he's showing other family members his first creation & how the Velcro works. (Smile) 
Ta-Da! Here she is!
(FYI, since this picture was taken the skirt has gotten a lot shorter.  He discovered my pinking shears & just wanted to "give it a trim", but then kept going - ahaha, gotta love an artist at work!)

7.26.2011

Sewing Project #2 - cute little bag

Inspired by Amanda Blake Soule in her book, Handmade Home: Simple Ways to Repurpose Old Materials into New Family Treasures, I chose her pattern for the "Treasure Bag".

Gathering my materials
After cutting several strips of muslin 2"x5", I used the stamps to measure out the space.
To prevent the stamp from getting all goopy with fabric paint, instead of painting the paint directly onto the stamp I decided to use a small paint brush to brush on a small layer of fabric paint onto a plastic lid. 
This allowed a reasonable amount of paint to sit on the stamp.

You can see how clearly the letters came out
I couldn't resist making a few more. I had a feeling I was going to love this little project & want to make more than just one bag.
I just love burlap, don't you? 
I couldn't resist making my first little bag out of it.  Somewhere I had read about a great way to help cut a straight line out of burlap (If I find the link I will post it). 
You find one string of the burlap & pull it out. This will leave a straight line to cut along.
I'll admit, it was a little more of a project than I expected (it doesn't just pull right out), but look at the amazing results! 
A very straight line indeed!
A straight line is created by pulling a thread from the burlap.
I sewed the "read" stamped fabric to a piece of 7"x7" scrap fabric.
Then I sewed this piece to the burlap, folded it - right sides together, & sewed the sides of the burlap.
After turning it right side out again, I added bias tape to the top with a zig-zag stitch.
A couple things here, (1) I have never used bias tape, (2) tricky, hmmm..., (3) I didn't measure correctly so I ended up with a inch on the back of the bag with no bias tape, (4) next time I cut the bias tape only after I was finished adding it :) Much better results!
I used ribbon for the handle. You can see how amateur my zig-zag is - there is no denying that this is a handmade product!
Voila! I love it, my kids love it, and we are all so proud of mama! I love that they got to see their mom through the whole process of setting a goal, getting an idea, learning, & creating a finished product/project!
{f.y.i. - Nearly everyday since I finished this they've been talking about their own "projects", what they are creating next, and the types of materials they need. Love it!}
Onto the next bag! I am making 2 bags out of window screening (Amanda Blake Soule's idea).
Stitching on the stamped muslin piece
Checking the placement of the fabric square prior to stitching it all up


Stitching the fabric to the front of the screen

Here are the finished products! 
On the left we have a bag that will be used to carry our books back & forth to the library. 
On the right we have gift bags.
The "create" bag was filled with artsy-craftsy supplies.
The "play" bag was filled with trucks for the sand box. My hope is that the screen will allow for sand to easily shake out.

7.25.2011

Sewing Project #1

I've begun my practice! I've got my manual & I have some scrap fabric.

Project #1: Learn how to do some basic sewing with my machine.


In order to get used to this old beauty I decided I'd just practice with some scrap fabric I had from a project a few years back. Once I began I decided to, at least, try to turn it into something close to real.


 Well, I was able to turn out 2 little cloth bags. When I presented them to my kiddos they jumped for joy & told me the bags would become their "Nature Bags", & I got a lot of thank you's & hugs! 
I was so pleasantly surprised because this was not a beautiful piece of work though I got such a nice response! Talk about motivation to keep sewing!
My next project will be 2 small bags for a birthday party we are attending soon!